My Blog turns 1!!!!!!!! AND three tutorials!
Hi, as you might know by now, my blog turns ONE today! Or if you are reading this later, on the fifth of January. To celebrate that, I have posted three tutorials for you to enjoy. Well, lets sing!
Happy Birthday to you, Happy Birthday to you, Happy birthday dear blog…. ….Happy birthday to you!
Also some exciting news, Mrs Lauren Marmalade had had her twins,the girl named Mia and the boy named Tommy. Also for christmas I got the Forest nursery,village flower stall and the Red panda family. ALSO I safed the three squirrels and the mouse-man from my bakery for christmas, so I kinda got them aswell. Basswood creek is a growing village =). But now, lets stop talking and lets have a look at the tutorials I posted:
Tutorial 1. Ice Blocks
Ice blocks are really easy to make, difficulty:easy
You will need:
-Toothpick
-scissors or saw
-playdoh or FIMO (I have never done anything with Fimo before so I don’t know what the texture is like, if it is like playdoh please let me know in a comment, if it is like it, do it with Fimo)
1.Cut the toothpick into 1cm pieces using the scissors or saw
2.Roll playdoh or FIMO into an oval shape
3. Poke toothpick into oval, let it dry
DONE!
Left to right Jack with a cherry and vanilla ice cream block, Coco Chocolate and Ivor trunk with Summer Surprise,Clive with Traffic light and Rolf Billabong with a lemonade ice block.
Tutorial 2. Thin icing
Dificuilty:medium
You will need:
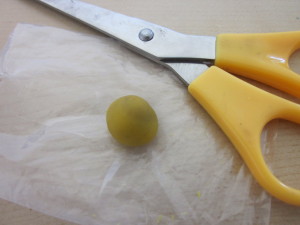
-A small plastic bag, like the ones were you get those collecting sheets in sylvanian purchases.
-Scissors
-playdoh or FIMO (I have never done anything with Fimo before so I don’t know what the texture is like, if it is like playdoh please let me know in a comment, if it is like it, do it with Fimo)
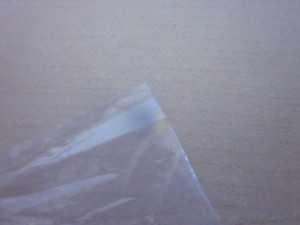
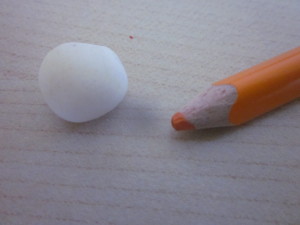
1.Get a corner of your plastic bag thingey
2. Cut a little bit off of the corner the sieze of your cut will be the sieze of your icing.
3.Put your playdoh or FIMO in your bag with cut off corner
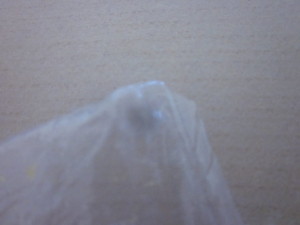
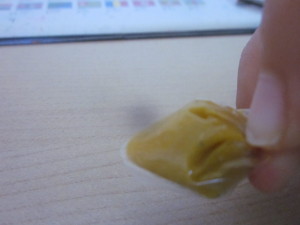
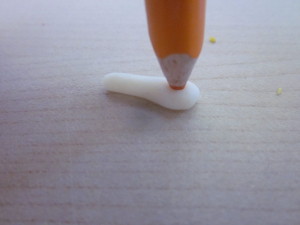
4.Hold it like this:
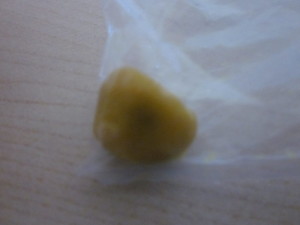
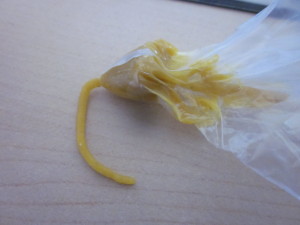
5.Just push the playdoh/FIMO out of the opening. Then their should come out a,a….. ……….sausage?
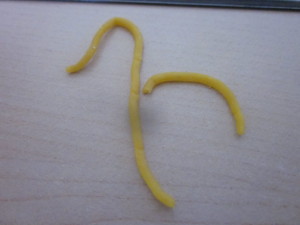
6.If you push on the ‘sausage’ will get longer
Viola!
Heres a tip, don’t push too hard,the bag might pop=(
Tutorial 3. Spoons!!!!!!!!!!!!!!!!!!!!!!!!!!
Dificulty: medium/hard
You will need:
-playdoh or FIMO (I have never done anything with Fimo before so I don’t know what the texture is like, if it is like playdoh please let me know in a comment, if it is like it, do it with Fimo)
-bluntish pencil
1.Get your playdoh/FIMO
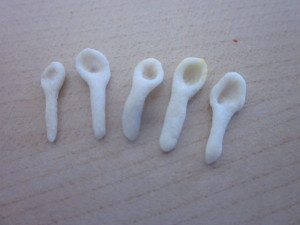
2.Roll it into a sausage and leave one end thicker than the other.Flaten it.
3. Make a dent with your pencil
4.DONE!
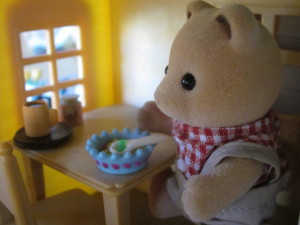
Now FINALLY sylvanians can eat soup and the bakery has tea spoons but…. ….How do you make forks????? If you know, please comment!
Harry is really happy to be eating with a spoon now.
I am really sorry than I can just not stop talking about my spoons, BUT they can be held by figures.
———————————————————–
So a happy new year, even if it is the new year already =) I will soon be posting about my Forest Nursery, Red panda Family and all the rest of my things.
Emily





Happy Blog Birthday! I’m so sorry I haven’t commented in a while, I do check your blog often though I absolutely LOVE those ice lollies (ice blocks 😉 )
Thank you so much aranera, I will comment on your blog right after this =)
Emily =)
Happy 1st year blog anniversary! Cheers to another blog year
Thankyou Jane!
Emily
Thanks for the cute tutorials! And congratulations to your new achievements!
  The normal FIMO is a bit harder than playdoh and must bake in the oven, but you can texture/model it like playdoh
Thank you for this information, it really helped =)
Emily
Happy Birthday Blog! And Happy New Year to you! Great tutorials, your Sylvanians are looking adorable!
Thank you Paige!
Emily